Creating a New File With Publisher
- Open Publisher and create a new document.
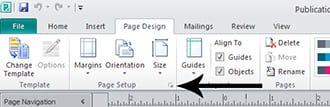
- Select Page Design at the top of the page, and hit the small expander box next to Page Setup to open the Page Setup dialog.

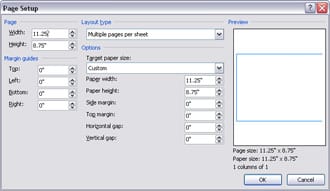
- Set the height and width 0.25 inches larger than the size of the finished printed piece. For example, if you’re using an 8.5 x 11 brochure template, make the dimensions 8.75 x 11.25 inches instead. A standard 2 x 3.5 inch business card would need to be 2.25 x 3.75 inches.

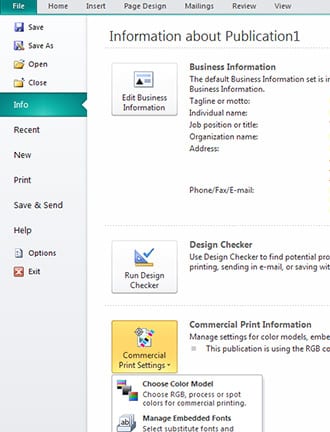
- Choose File at the top of the page, then select Info > Commercial Print Settings > Choose Color Model.

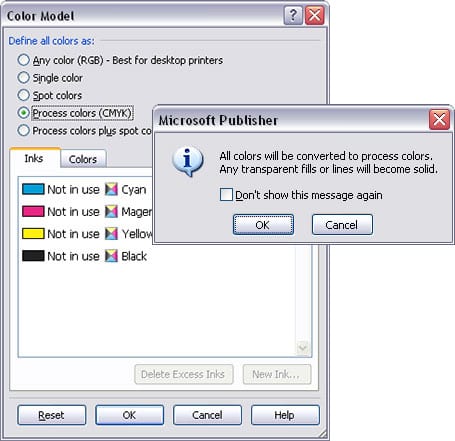
- A Color Model dialog box will appear. Pick “Process colors (CMYK).” An alert will appear. Hit OK, then hit OK on the Color Model dialog to save your settings.

Why is There Extra Space?
The 1/4 inch of extra space is intended for bleeds. Bleeds are text or images that extend all the way to the edge of the finished page. Since printing equipment can’t always accommodate printing all the way to the edge of the page, extra space must be added to allow for it. This excess space (1/8 inch on all sides) is then trimmed off once the printing process is complete. We recommend adding guides 1/8 inch from each edge of your document to indicate the cut line (the line where your document will be trimmed). The bleed area will fall outside this line (called the bleed line).
Safety Margins
In addition to the bleed line, we also recommend adding a second set of guides 1/8 inch inside the bleed line (1/4 inch from each document edge). We call this the safety margin, and any text you’re including in your document should not go past this margin. Any text that extends beyond this margin will fall outside the mechanical tolerances of our paper-cutting equipment and may get cut off inadvertently.
Fold Lines
If your artwork includes folds (such as a tri-fold brochure), add guides at the fold lines and 1/8 inch on either side of the fold as a safety margin for each panel. This will help ensure that your piece maintains proper symmetry when it is printed, cut, and folded.
Borders
If your design includes a border that does not run along the outer edge of the page, we recommend leaving at least 1/4 inch (0.25) of white space between the cut line and your border. This will ensure a more symmetrical appearance once the print piece is trimmed. If your design includes a border that does run along the outer edge, we recommend a border width of at least 1/4 inch (0.25) inside the cut line and 1/8 inch (0.125) outside the cut line, for a total width of 3/8 inch (0.375).
Handling Images
When designing for print it’s important to use high-resolution images with CMYK color. While 72 dpi and RGB are acceptable (and preferable) for web-based viewing, print-based images need to be 300 dpi and must use CMYK. Otherwise, they will not reproduce properly on printing equipment. Do not try to compensate for a poor resolution image by simply increasing the DPI manually. This will only lead to heartache and gnashing of teeth.
Making Sure Black is Black
We all know about shades of gray, but in printing, there are also varying shades of black. For richer, darker black, we recommend a CMYK setting of C=30%, M=30%, Y=30%, and K=100%. This is known as Rich Black.